Introduction
Quickstart
Get started with the Vaktum platform
Quick Start Guide
This guide will help you get started with Vaktum quickly. You can use Vaktum through multiple interfaces: the command line interface (CLI), Vaktum.com web platform, or the Vaktum API.
Feature Availability
The following features are available across different Vaktum interfaces:
| Feature | Vaktum CLI | Vaktum.com | Vaktum API |
|---|---|---|---|
| Load API Specs | ✅ | ✅ | ✅ |
| Validate API | ✅ | ✅ | ✅ |
| Edit API | ❌ | ✅ | ✅ |
| Generate Tests | ❌ | ✅ | ✅ |
| Edit Tests | ❌ | ✅ | ❌ |
| Generate Data Model | ❌ | ✅ | ✅ |
| Generate SDK | ✅ | ✅ | ✅ |
| Run Tests | ✅ | ✅ | ✅ |
| API Docs | ❌ | ✅ | ✅ |
Getting Started with Vaktum CLI
- Obtain the CLI: The Vaktum binaries are not yet publicly available. To get a copy, email hello@vaktum.com.
- Basic Commands:
Once you have the binaries, you can execute them like any CLI tool:
./vaktum --version ./vaktum validate <openapi.json> - Validate an API Specification:
./vaktum validate --api path/to/openapi.json - Run Tests:
./vaktum test --tests path/to/tests.json --env path/to/environment.json - Generate SDK:
./vaktum generate sdk --api path/to/openapi.json --language typescript --output ./sdk
For more details, see the Local Development section.
Getting Started with Vaktum.com
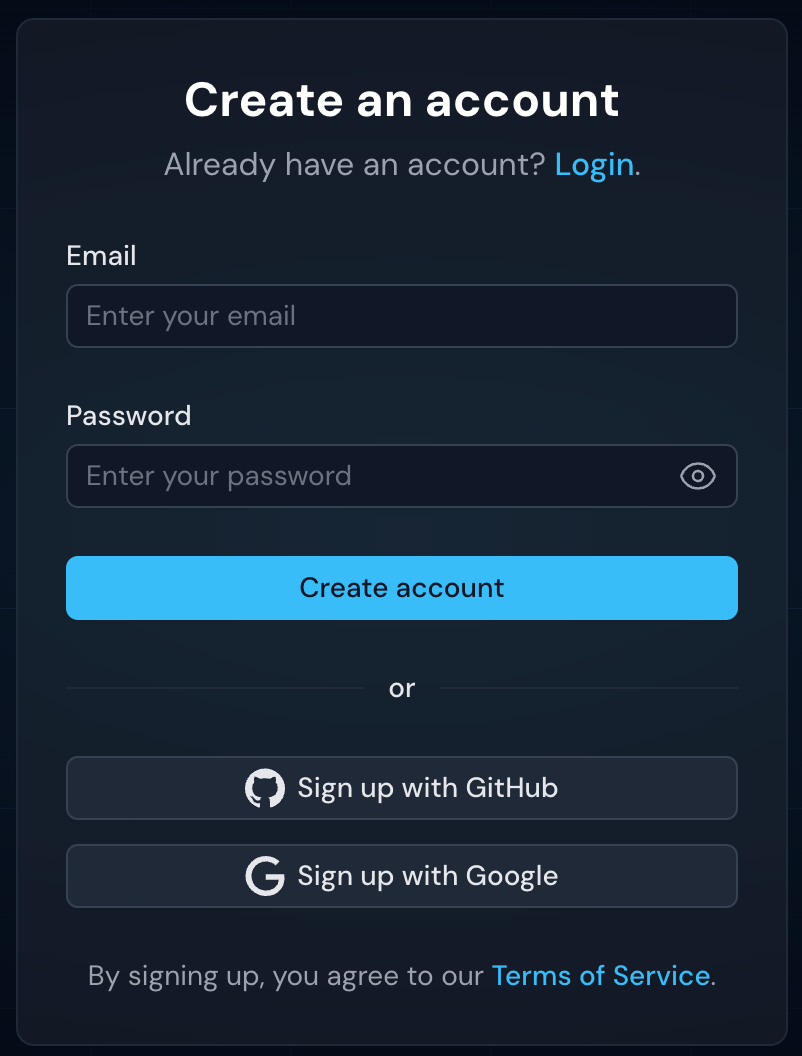
- Sign Up:
Visit app.vaktum.com/signup to create an account.
Supported login methods:- Username & Password
- Sign-in with Google
- Sign-in with GitHub
- Load an API:
- Navigate to the APIs section
- Click "Upload API" to upload an OpenAPI specification
- Alternatively, click "Scrape API" to generate a specification from API documentation
- Validate Your API:
- Select your API from the list
- Go to the "Validate" tab to see validation results
- Generate Tests:
- Go to the Tests section
- Click "Generate Tests"
- Select your API and configure test generation options
- Run Tests:
- Select your test suite
- Choose the environment
- Click "Start Tests"
Getting Started with the Vaktum API
- Get an API Key:
- Log in to Vaktum.com
- Go to Manage workspace → API Keys
- Create a new API key
- Make Your First API Call:
curl -X GET "https://api.vaktum.com/v1/apis" \ -H "X-API-KEY: your-api-key" - Upload an API Definition:
curl -X POST "https://api.vaktum.com/v1/apis" \ -H "X-API-KEY: your-api-key" \ -H "Content-Type: application/json" \ -d '{ "name": "My API", "description": "API description", "file": "base64-encoded-openapi-file" }' - Generate Tests:
curl -X POST "https://api.vaktum.com/v1/test-suites/generate" \
  -H "X-API-KEY: your-api-key" \
  -H "Content-Type: application/json" \
  -d '{
    "apiId": "your-api-id",
    "options": {
      "coverage": "standard"
    }
  }'
For complete API documentation, visit apidocs.vaktum.com.
Next Steps
After completing this quickstart guide, explore these areas to get the most out of Vaktum: